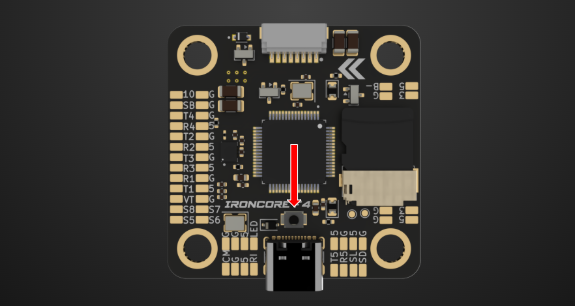
Press and hold the physical BOOT button on the flight controller.
While holding the button, connect the FC to your PC via a USB Data Cable (avoid charge-only cables).
Release the button once connected; the board is now in Device Firmware Update (DFU) mode.
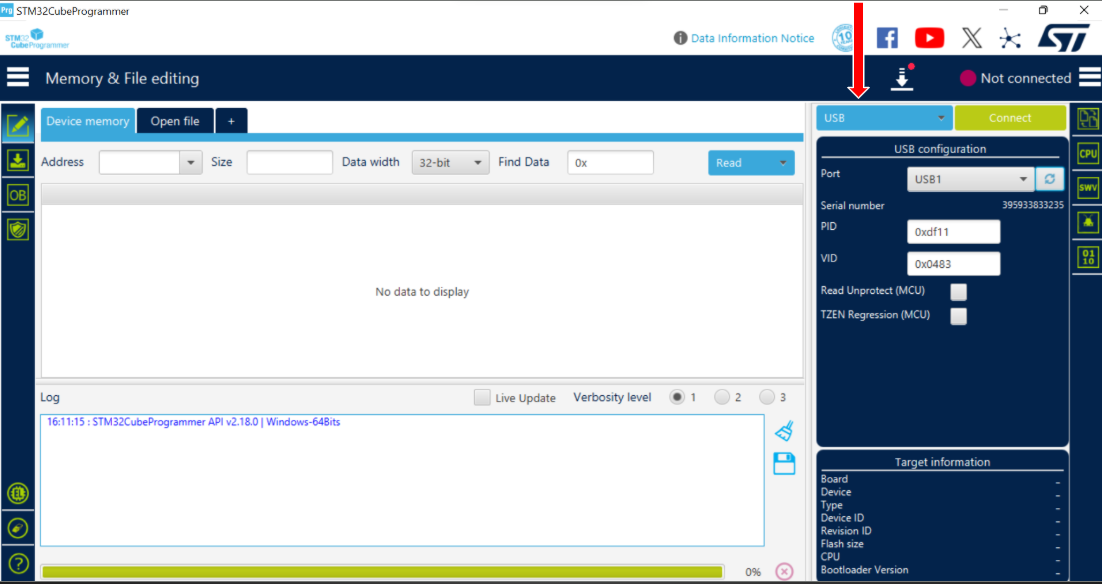
Step 2: Establish Connection
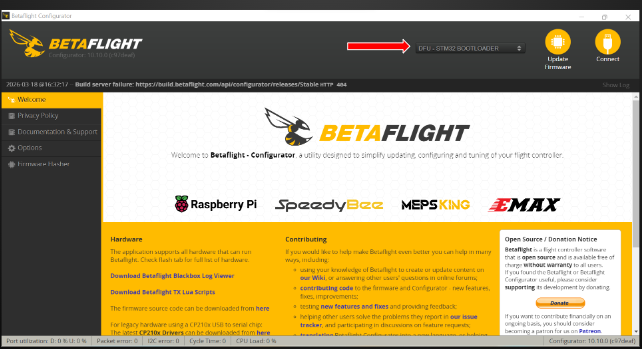
In the software, select USB from the interface dropdown menu on the right.
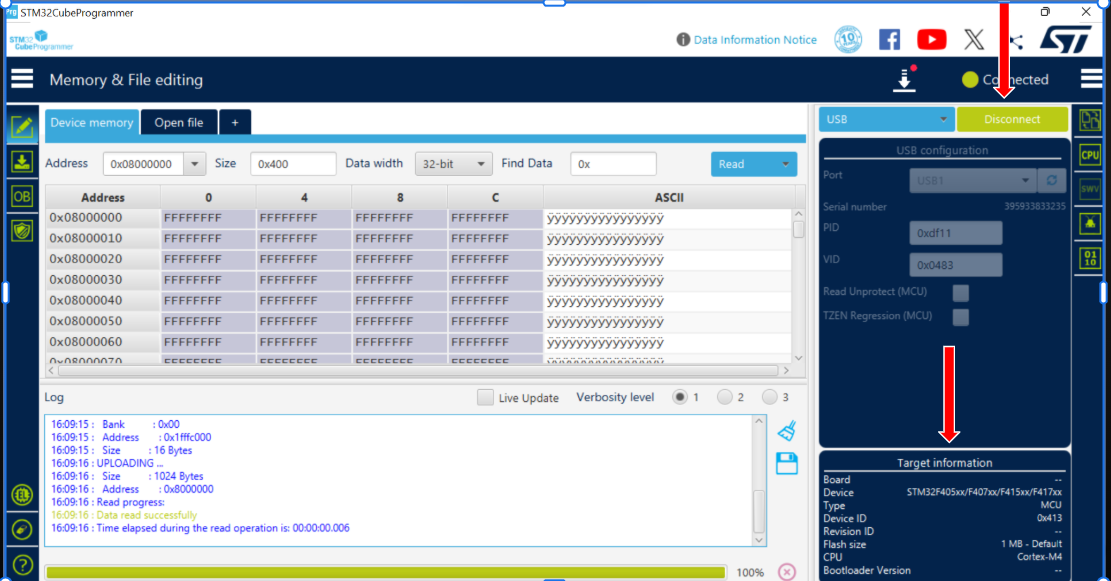
Click the Connect button. Ensure the Serial Number field populates, confirming the FC is recognized.
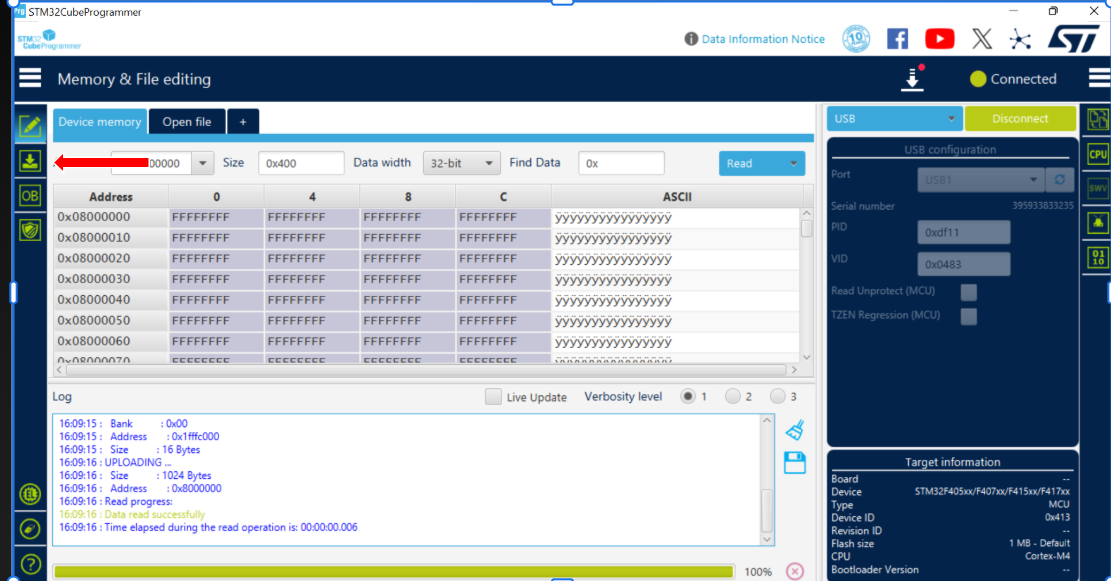
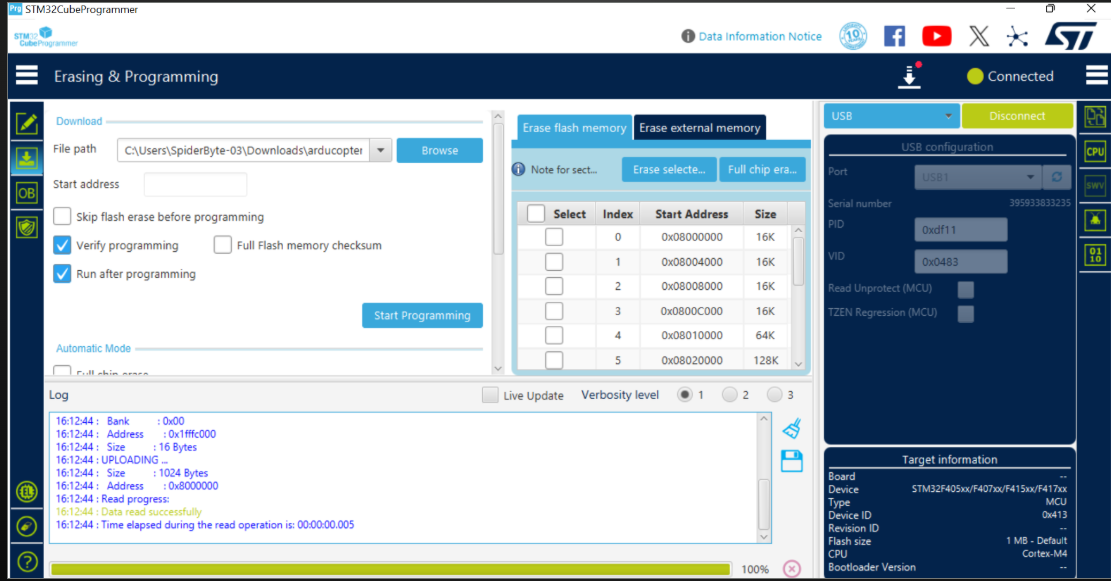
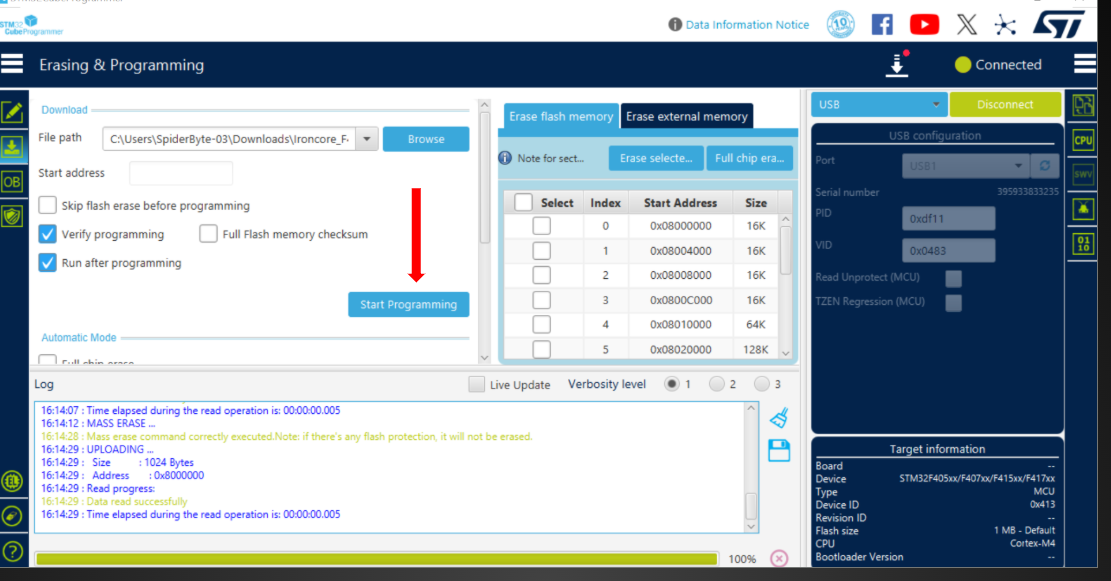
Step 3: Access Erasing & Programming
Once connected, click on the second icon in the left-hand sidebar menu (the green arrow icon) to open the Erasing & Programming section.
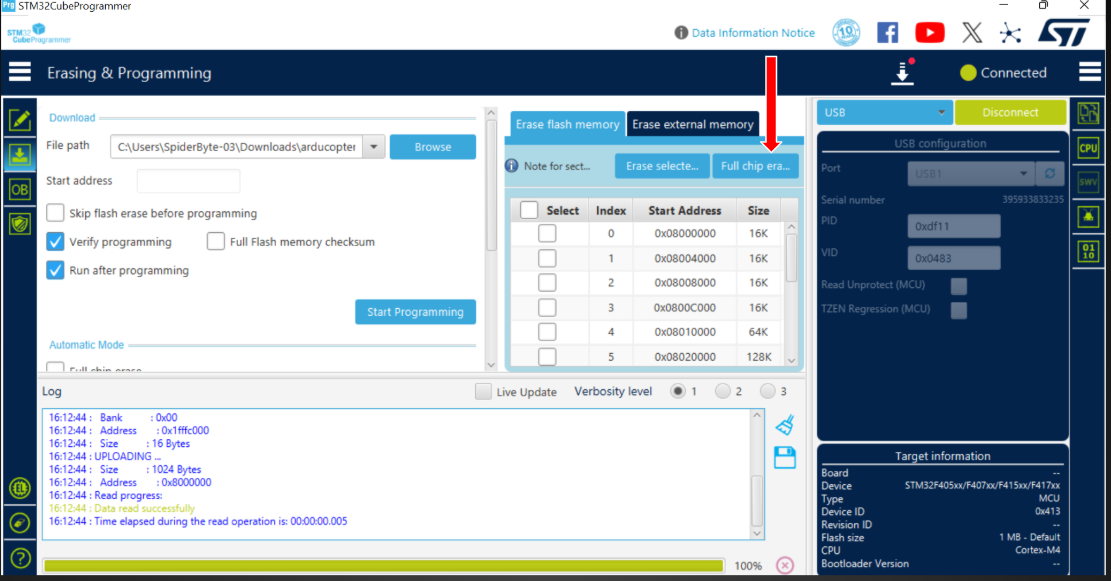
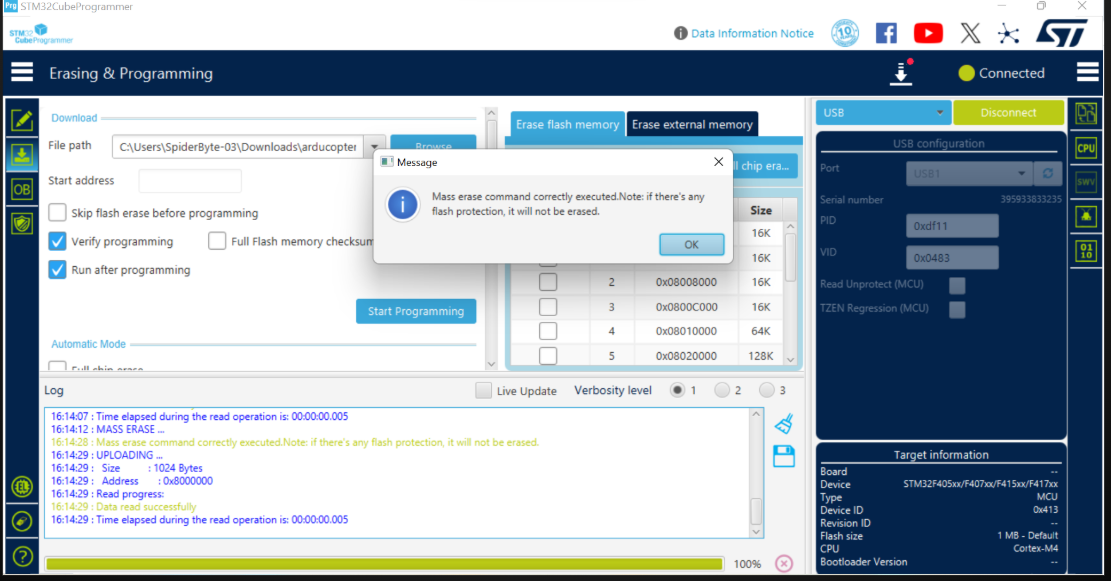
Step 4: Full Chip Erase
Before flashing new firmware, it is critical to wipe the existing data. Click Full chip erase and wait for the confirmation log to appear. Do not disconnect the device during this process.
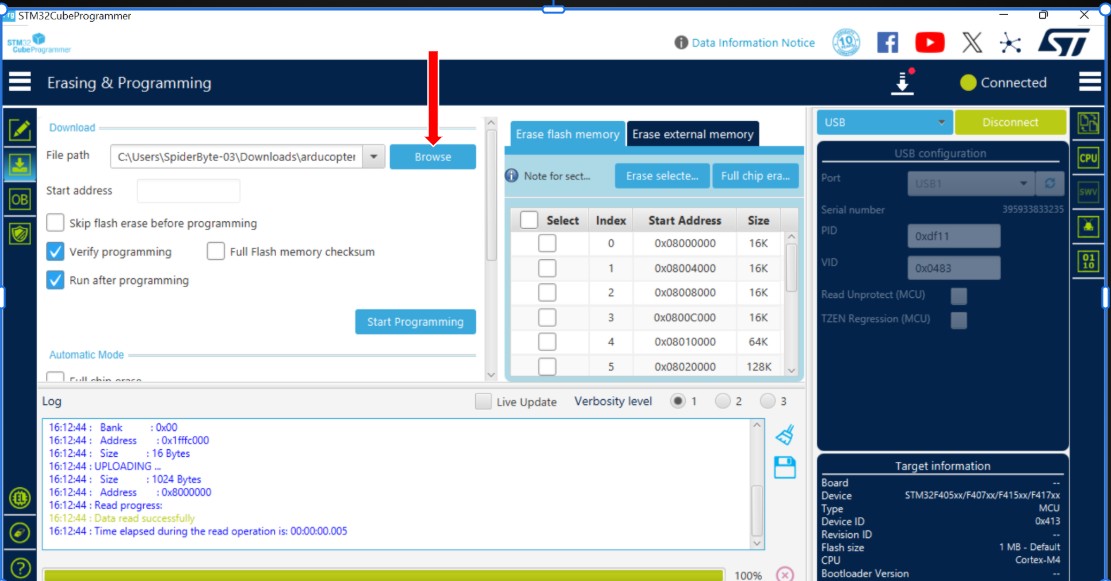
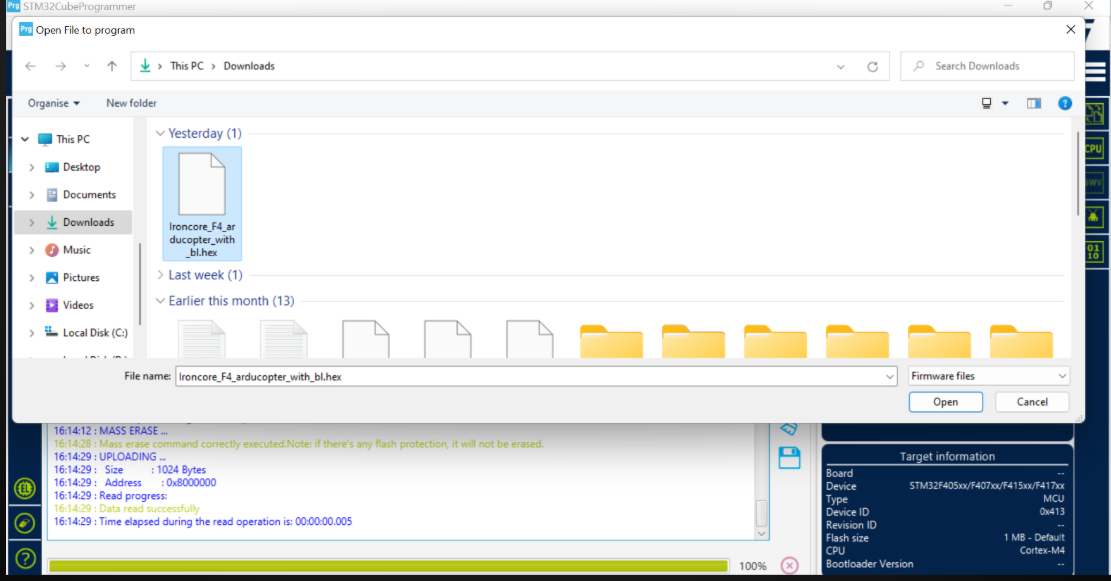
Step 6: Load Firmware File
Now click Browse. Browse your computer to select the firmware file you downloaded and click on open button (Please find the link below to download the latest Arducopter firmware)
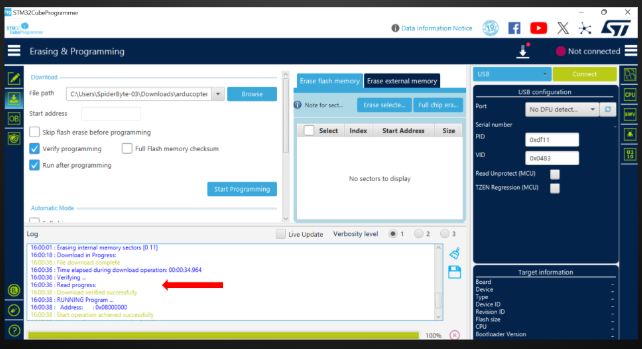
Step 7: Execute Download
Once the file path is loaded, click the Start Programming button. Monitor the progress bar at the bottom and wait for the File download complete message before disconnecting your flight controller.
Now after powering cycle the Flight controller and can connect the FC with GCS software (Mission Planner, QGroundControl)
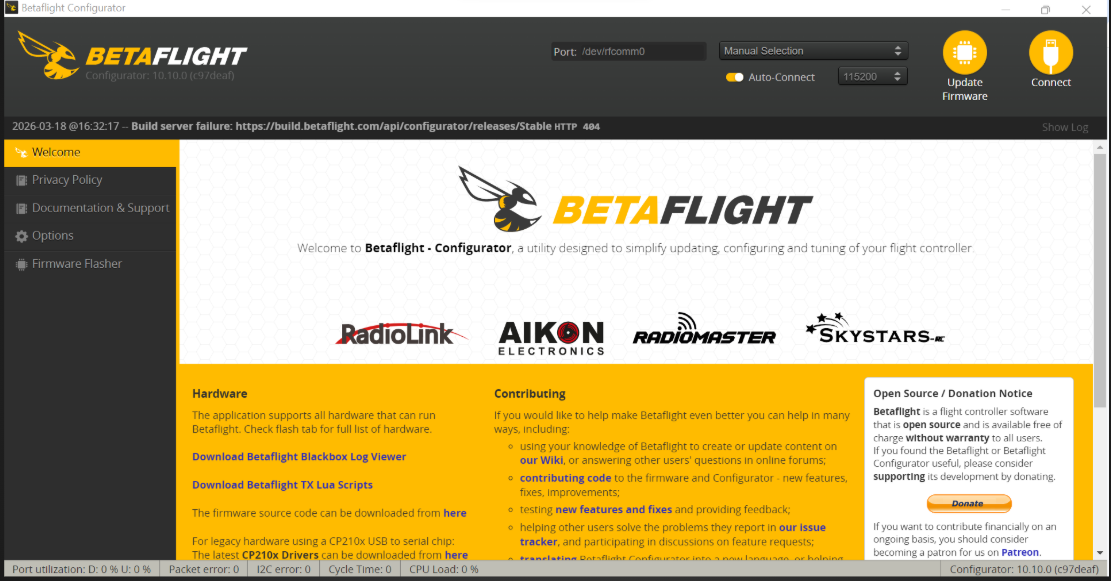
FLASHING BETAFLIGHT FIRMWARE
Step 1: Install Betaflight Configurator
Download the latest version of Betaflight Configurator from the official Betaflight GitHub repository.
Install the appropriate version based on your operating system (Windows, macOS, or Linux).
Step 2: Enter Bootloader (DFU) Mode
Press and hold the physical BOOT button on the flight controller.
While holding the button, connect the FC to your PC via a USB Data Cable (avoid charge-only cables).
Release the button once connected; the board is now in Device Firmware Update (DFU) mode.
Step 3: Flashing Firmware
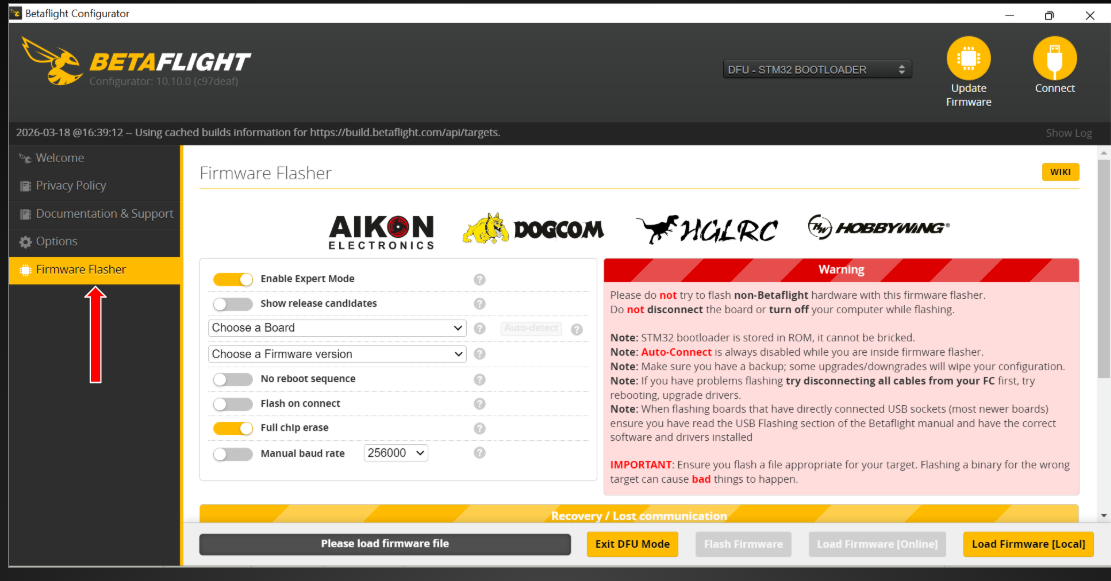
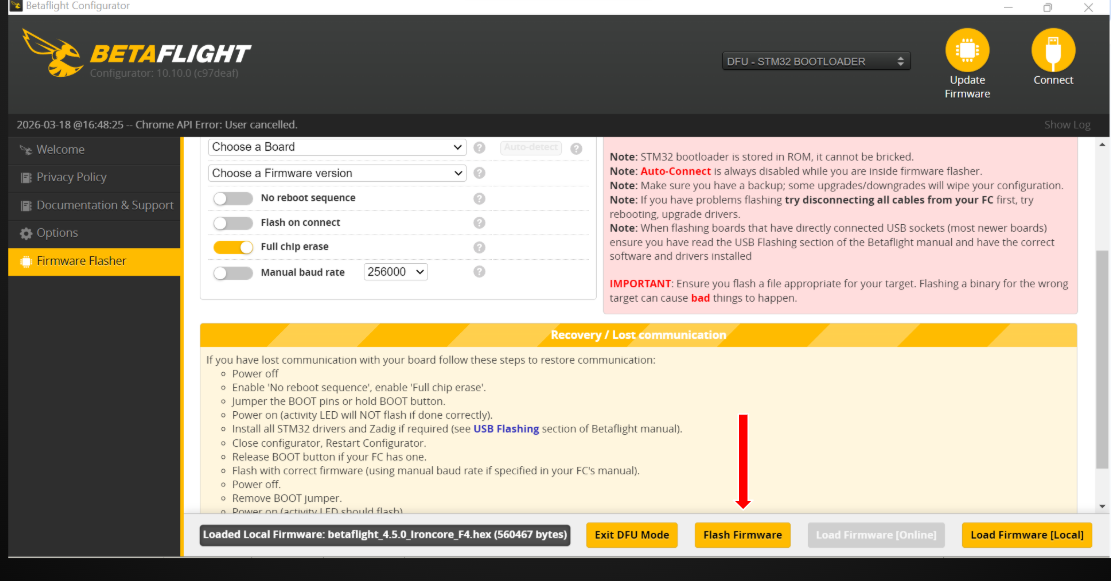
Now click on Firmware Flasher in left side menu
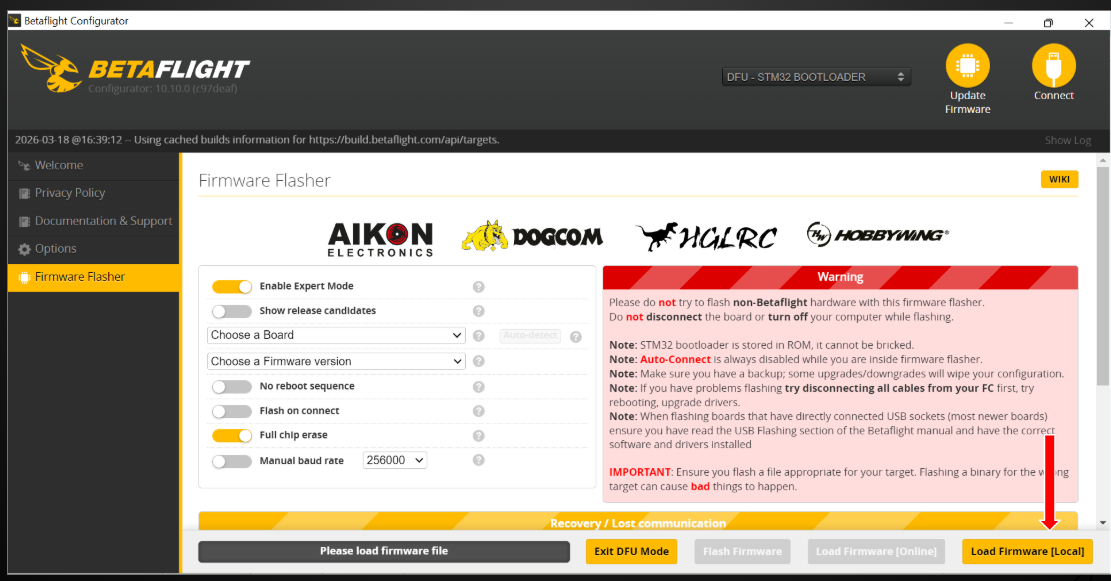
Now click on Load Firmware (Local) in right bottom side
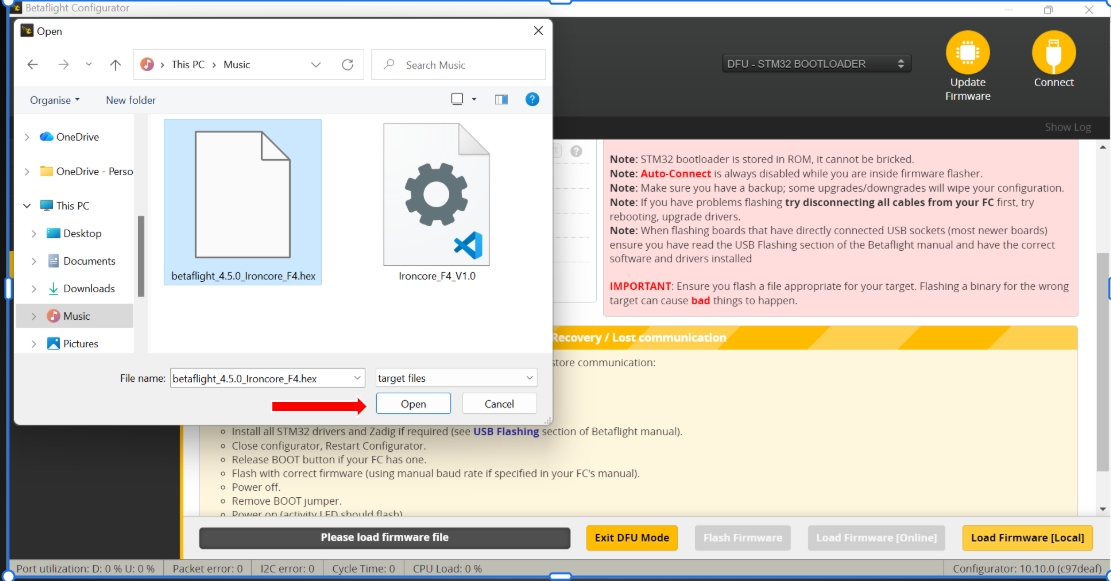
Now select the betaflight firmware which you downloaded (please find the link below to download the betaflight firmware) and click on open.
Now click on Flash Firmware
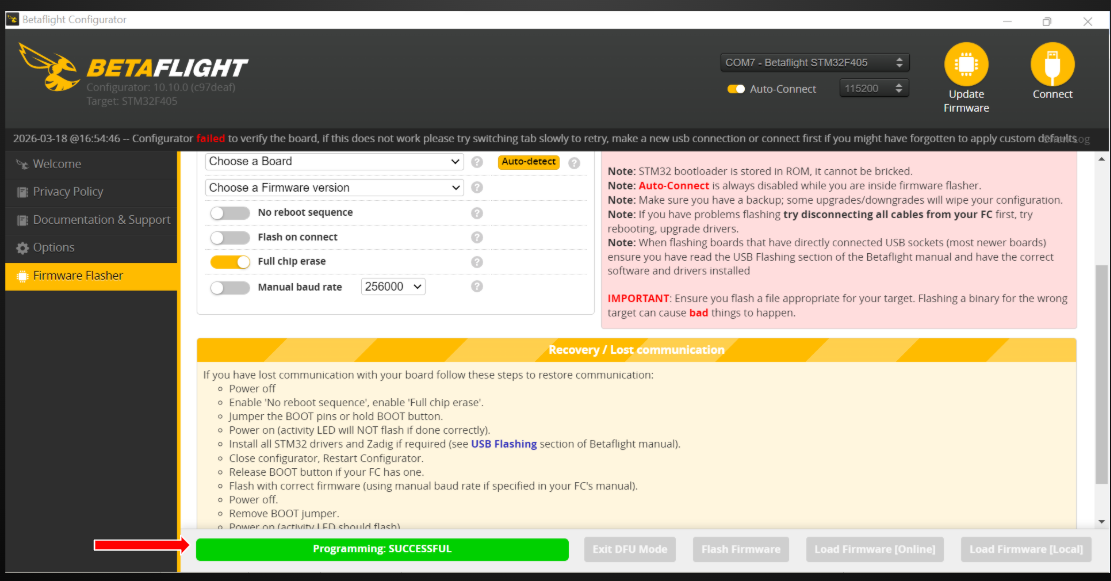
After flashing is successful you should see Programming: SUCCESSFUL
Step 4: Loading Configuration File
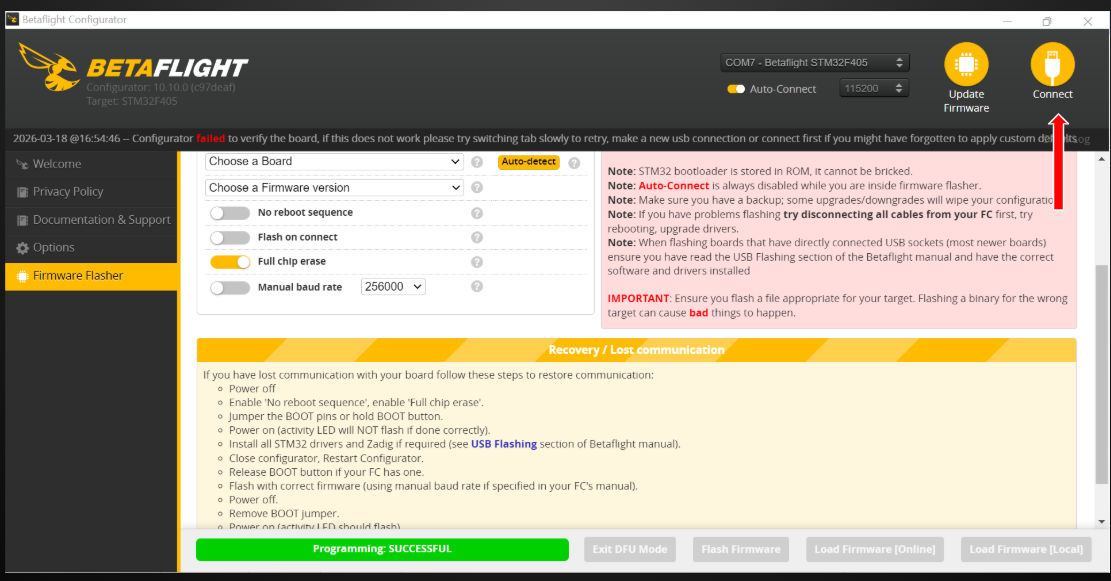
Now Click on Connect Button on top right corner
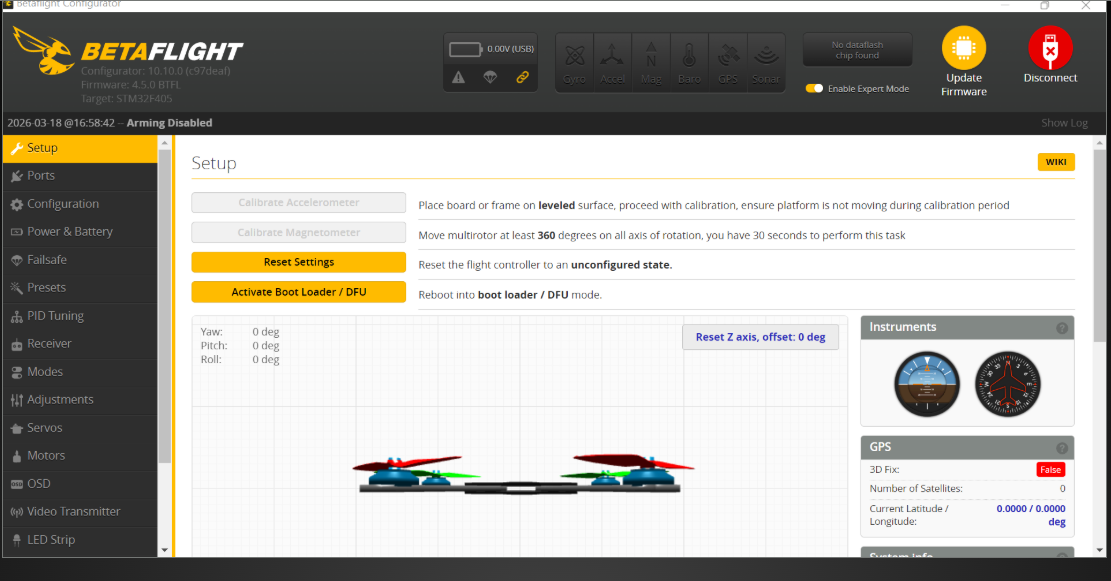
Now you can see the Betaflight Dashboard, shows FC is connected with software.
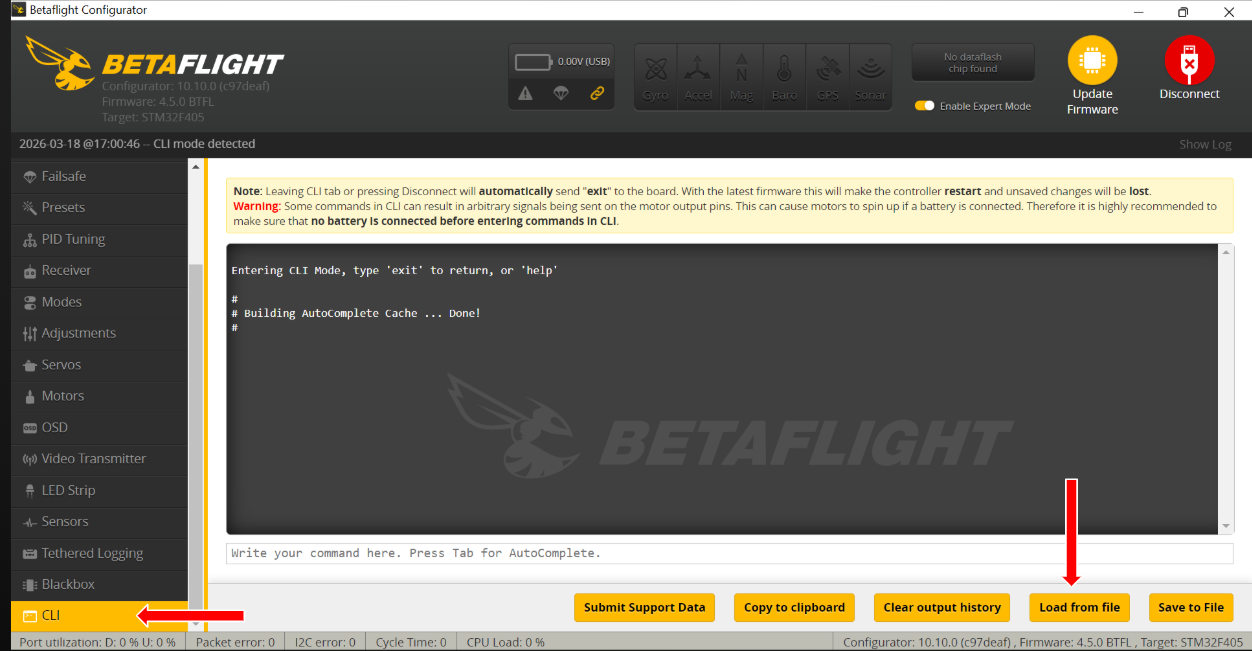
Now on CLI tab in left side menu then click on Load From File in bottom left side menu
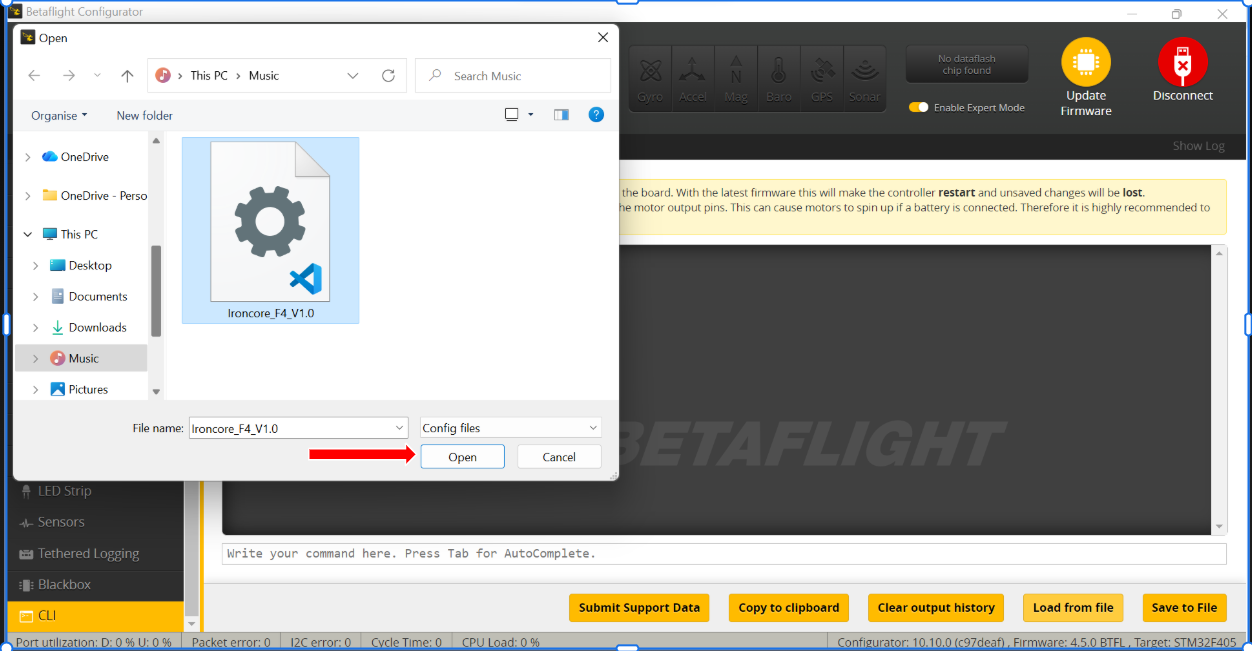
Now load the downloaded config file ( please find the link below to download the config file) and click on open.
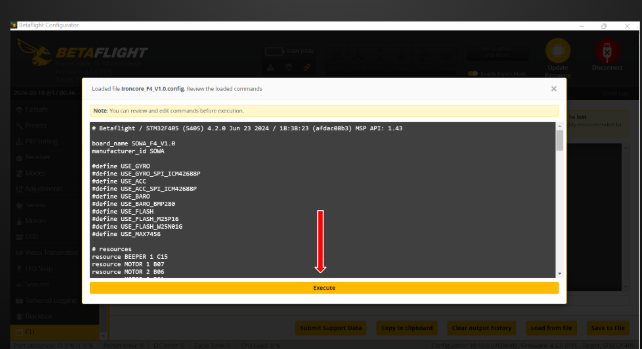
Once config file is loaded click on Execute
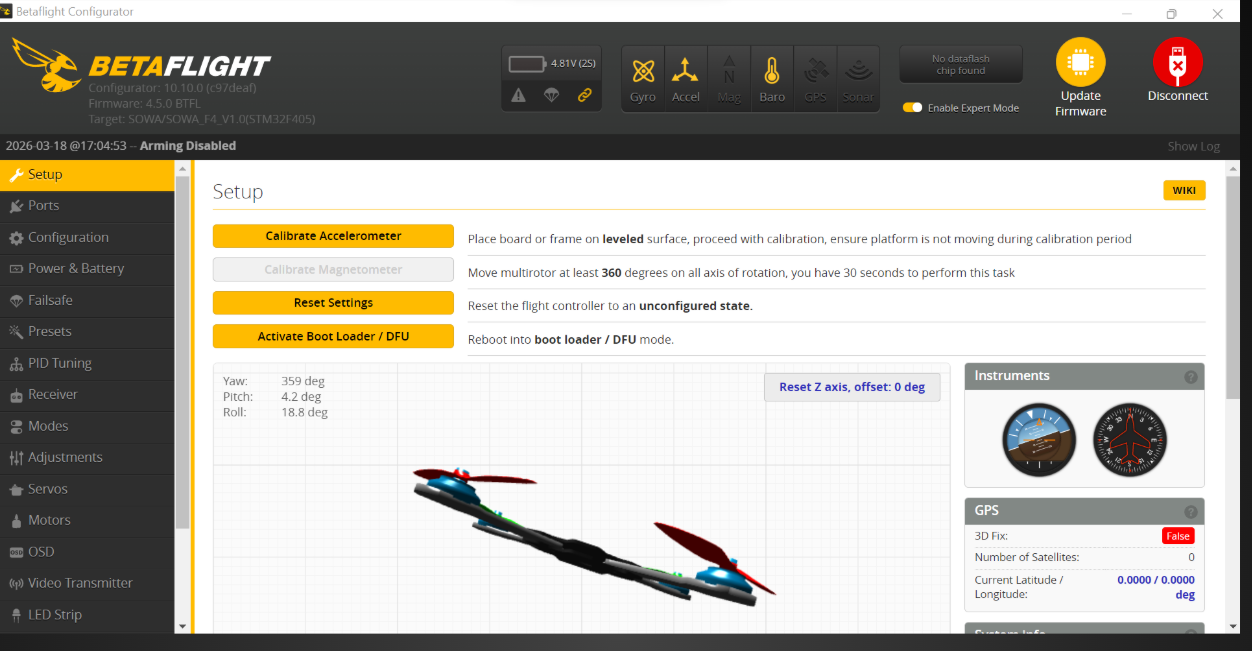
Once file is executed now you can connect the FC with software and can do the setup as required normally.